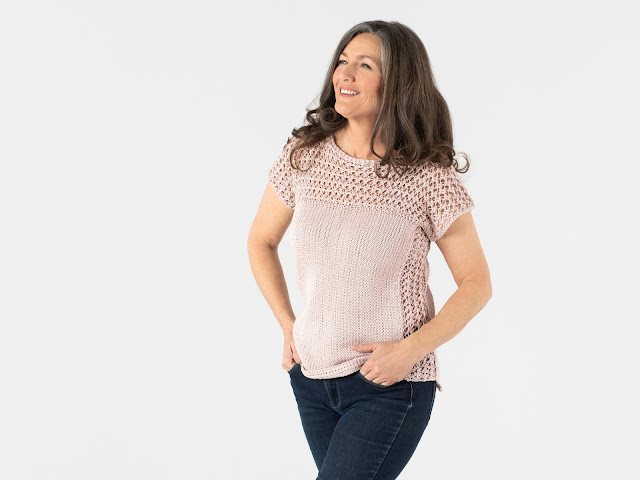
Pacificus DK Construction!
Pacificus DK is a side-to-side seamless summer sweater! The construction is surprisingly simple.
It is important for you to understand how Pacificus DK is constructed, especially if you are thinking of making any adjustments to the pattern!
Remember that Row gauge is more important than stitch gauge as since you are working the sweater side-to side the rows determine the width of your sweater and the sts determine the length! This is probably different than many sweaters you have knit in the past!
Just click on the photos to see them bigger!
Step 1:
Cast on with the right sleeve of the sweater. Work the sleeve, if you want it to be longer work more repeats of the Pacificus Stitch. Just make sure you write down your adjustment so you work it on the left side as well!
Step 2: Provisionally cast on sts for the front and back of your sweater. This is where you will add length for the body if you need it!
Step 3:
Then you'll work across all the sts, back, sleeve, front and work the shoulder rows to the neckline split. Next, you’ll be splitting your stitches for the neckline, working neckline shaping and separating the shoulder from the front and back.
Step 4:
Then you'll rejoin for the left shoulder and work it!
Step 5:
Once the left shoulder is done, you'll put your front and back sts on scrap yarn and then work the left sleeve and bind it off.
Step 6:
Time for some Origami... fold your sweater in half at the shoulder!
Step 7:
Pick up stitches along each edge of a sleeve and coordinating side seam and then work a side panel up. As you work through the Side Panel, RS rows decrease st(s) from the Front, and WS rows decrease st(s) from the Back.
Any Questions? Come Join the KAL and knit Pacificus DK with us!!!
It is important for you to understand how Pacificus DK is constructed, especially if you are thinking of making any adjustments to the pattern!
Remember that Row gauge is more important than stitch gauge as since you are working the sweater side-to side the rows determine the width of your sweater and the sts determine the length! This is probably different than many sweaters you have knit in the past!
Just click on the photos to see them bigger!
Step 1:
Cast on with the right sleeve of the sweater. Work the sleeve, if you want it to be longer work more repeats of the Pacificus Stitch. Just make sure you write down your adjustment so you work it on the left side as well!
Step 2: Provisionally cast on sts for the front and back of your sweater. This is where you will add length for the body if you need it!
Step 3:
Then you'll work across all the sts, back, sleeve, front and work the shoulder rows to the neckline split. Next, you’ll be splitting your stitches for the neckline, working neckline shaping and separating the shoulder from the front and back.
Step 4:
Then you'll rejoin for the left shoulder and work it!
Step 5:
Once the left shoulder is done, you'll put your front and back sts on scrap yarn and then work the left sleeve and bind it off.
Time for some Origami... fold your sweater in half at the shoulder!
Step 7:
Pick up stitches along each edge of a sleeve and coordinating side seam and then work a side panel up. As you work through the Side Panel, RS rows decrease st(s) from the Front, and WS rows decrease st(s) from the Back.
Any Questions? Come Join the KAL and knit Pacificus DK with us!!! 

Any Questions? Come Join the KAL and knit Pacificus DK with us!!!


Comments
Post a Comment